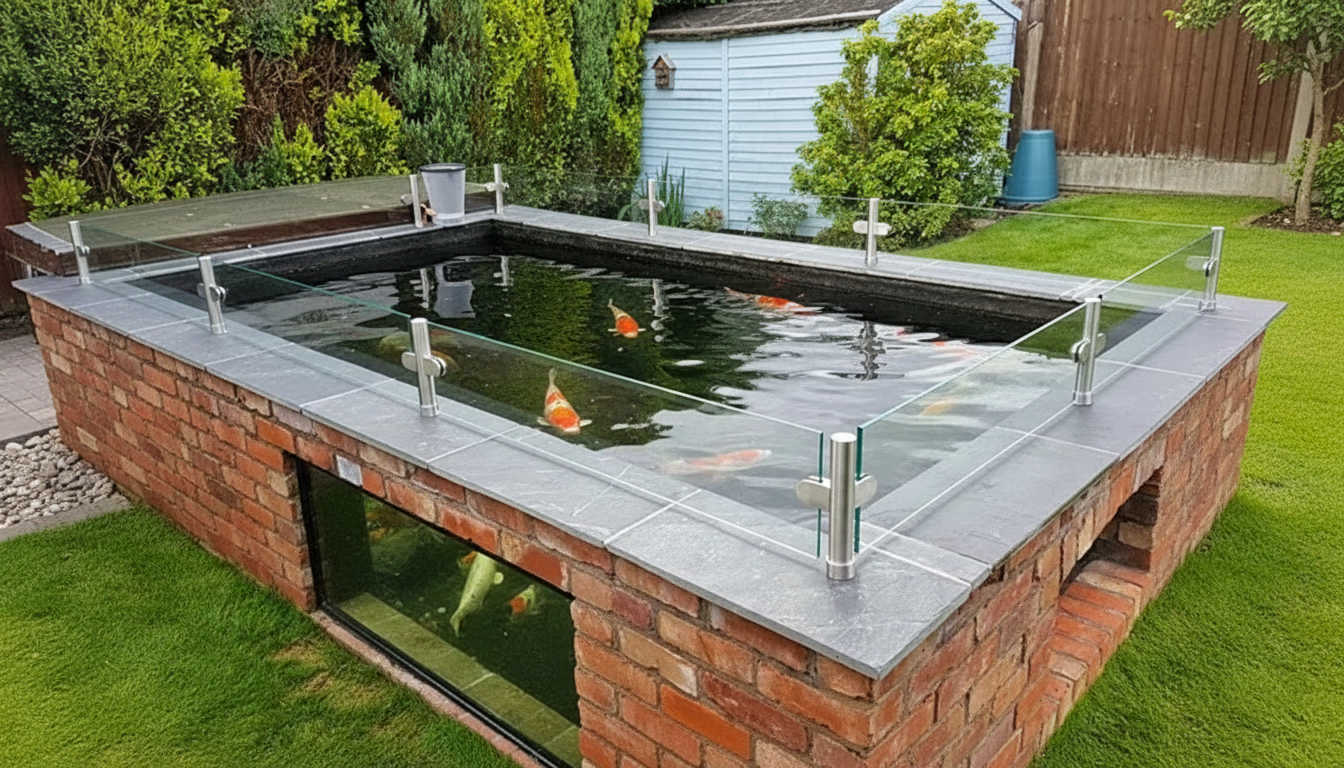
Step-by-Step Installation
Use the Pond Guard Designer to calculate your exact post and glass requirements before you begin.
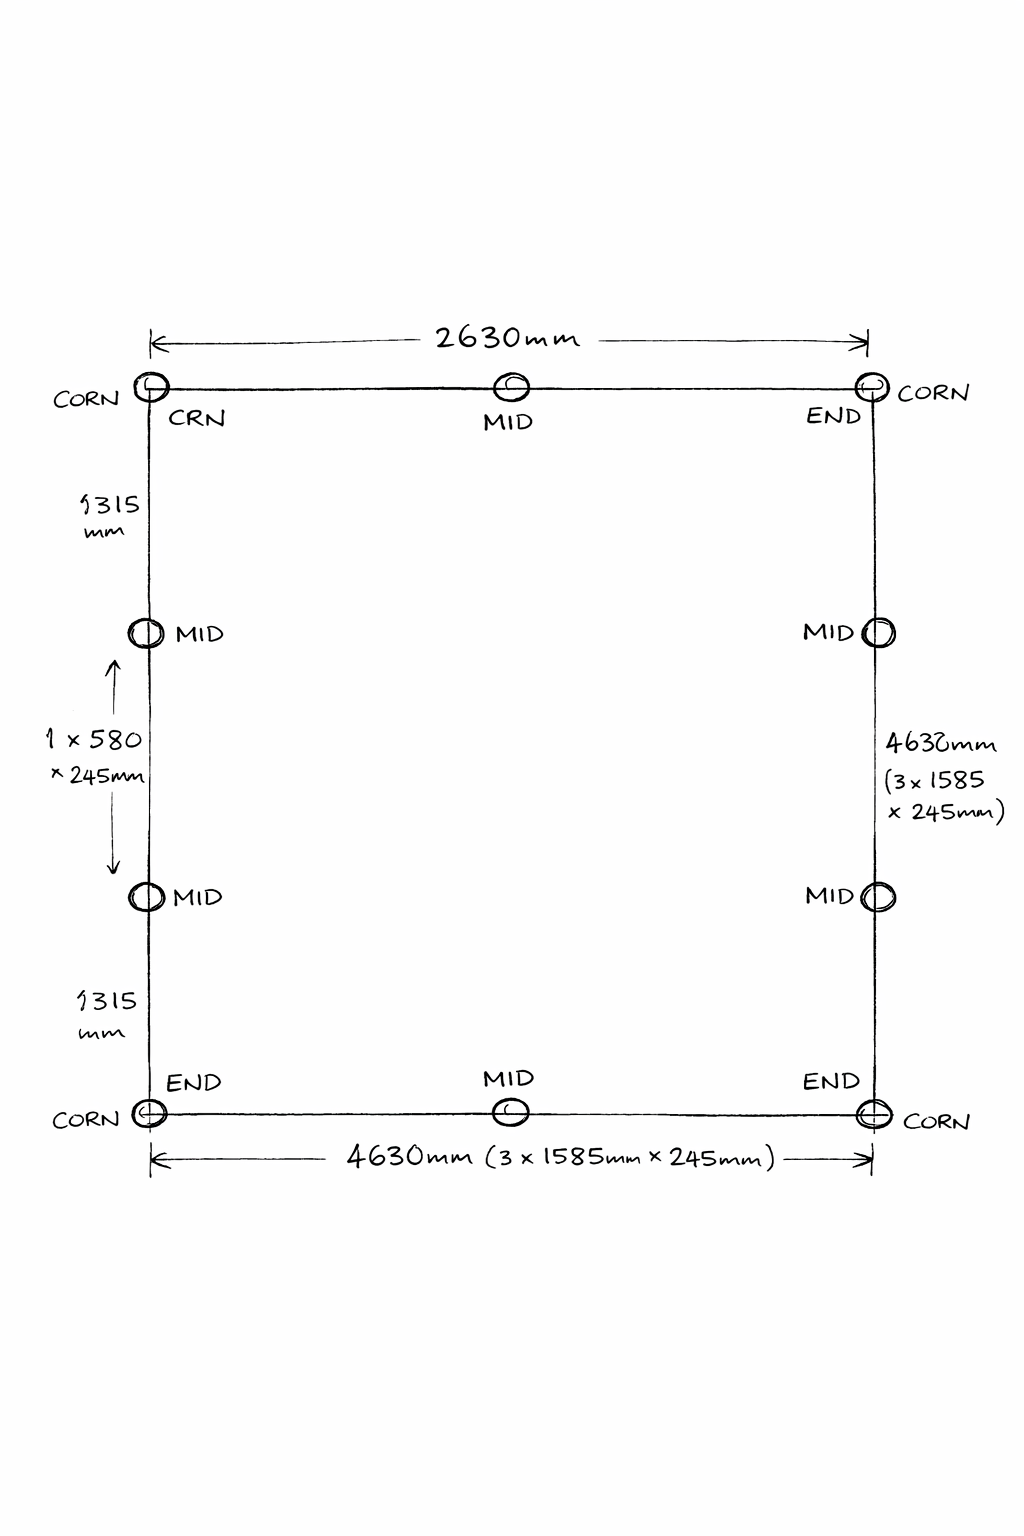
Plan your post layout
Walk the perimeter and decide where corner, end, and mid posts will go. Every change of direction needs a corner post. End posts terminate each run, and mid posts fill the gaps between them.
Tip: Start with 1500mm between post centres; go wider only where a window or obstacle needs it, and confirm final measurements with us.
Measure & mark post positions
Using a tape measure, mark the exact position of each post on your coping stone or surround. Keep spacing consistent along each run for a clean finish.
Tip: The Pond Guard Designer calculates post positions automatically from your pond dimensions.
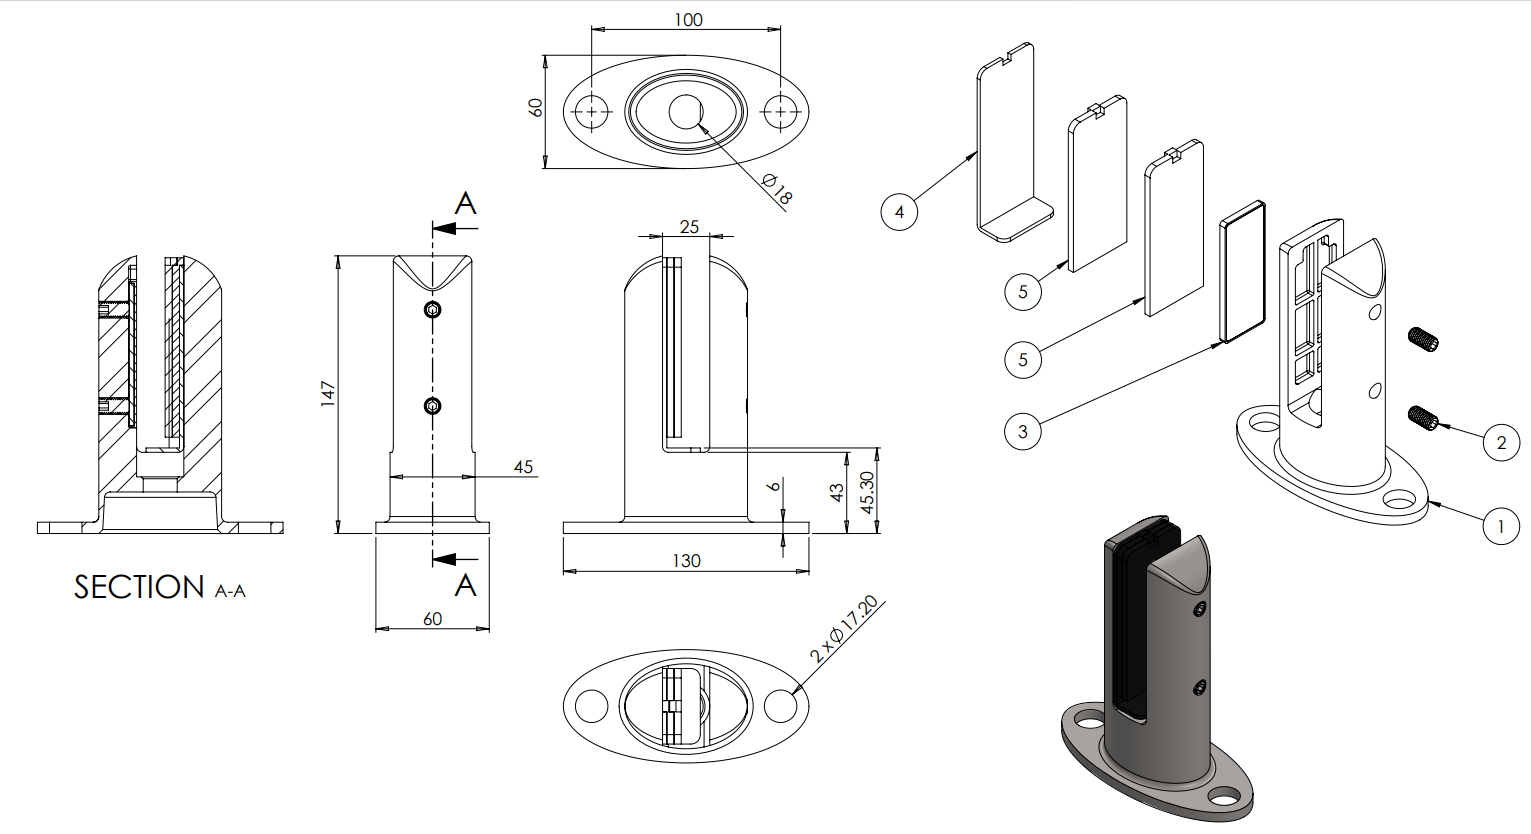
Fix the base plates
Drill pilot holes at each marked position and fix the stainless steel base plates securely using appropriate masonry fixings. A strong base fixing is essential for a safe, stable guard system.
Tip: Use diamond-tipped masonry bits for hard surfaces like slate or granite.
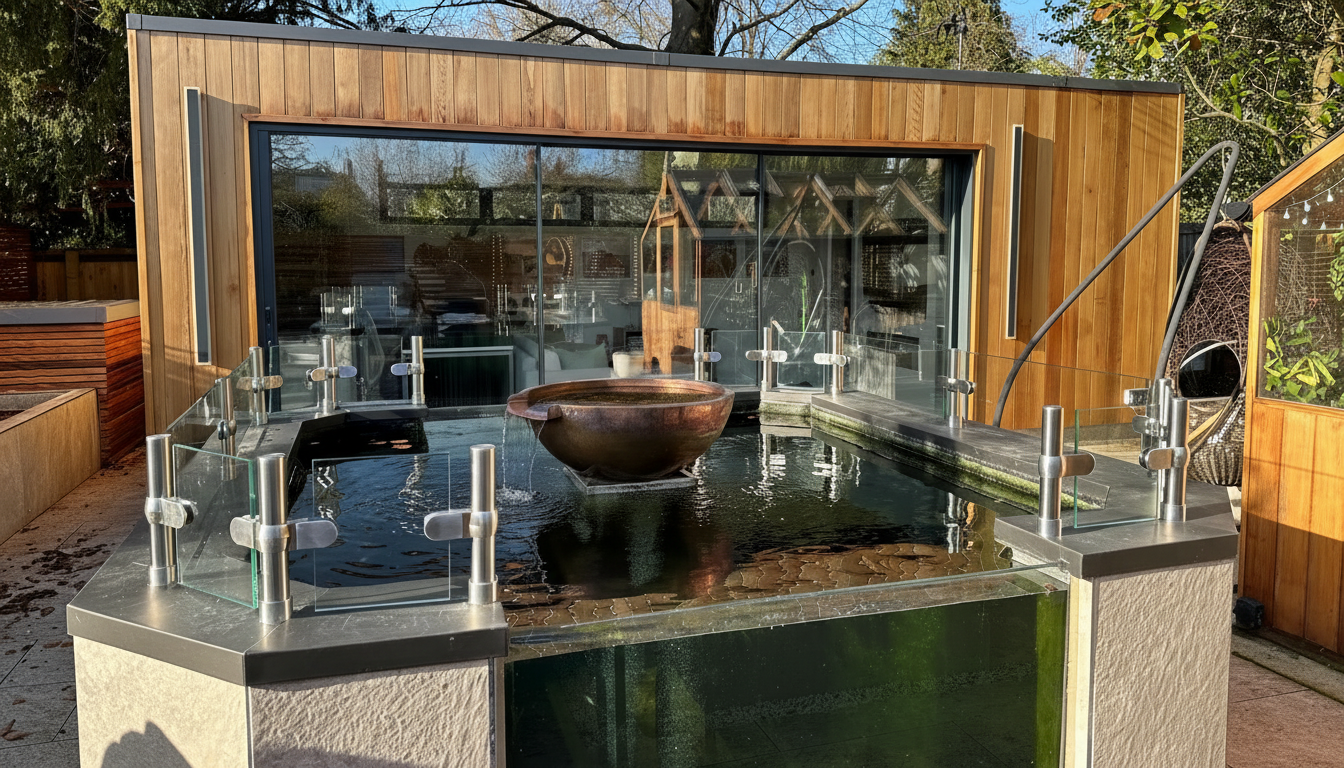
Insert the posts & fit clamps
Slide each stainless steel post into its base and tighten. Attach the glass clamps at the correct height. Standard D clamps grip the glass face; Sleeve Fit clamps have a channel for a flush finish.
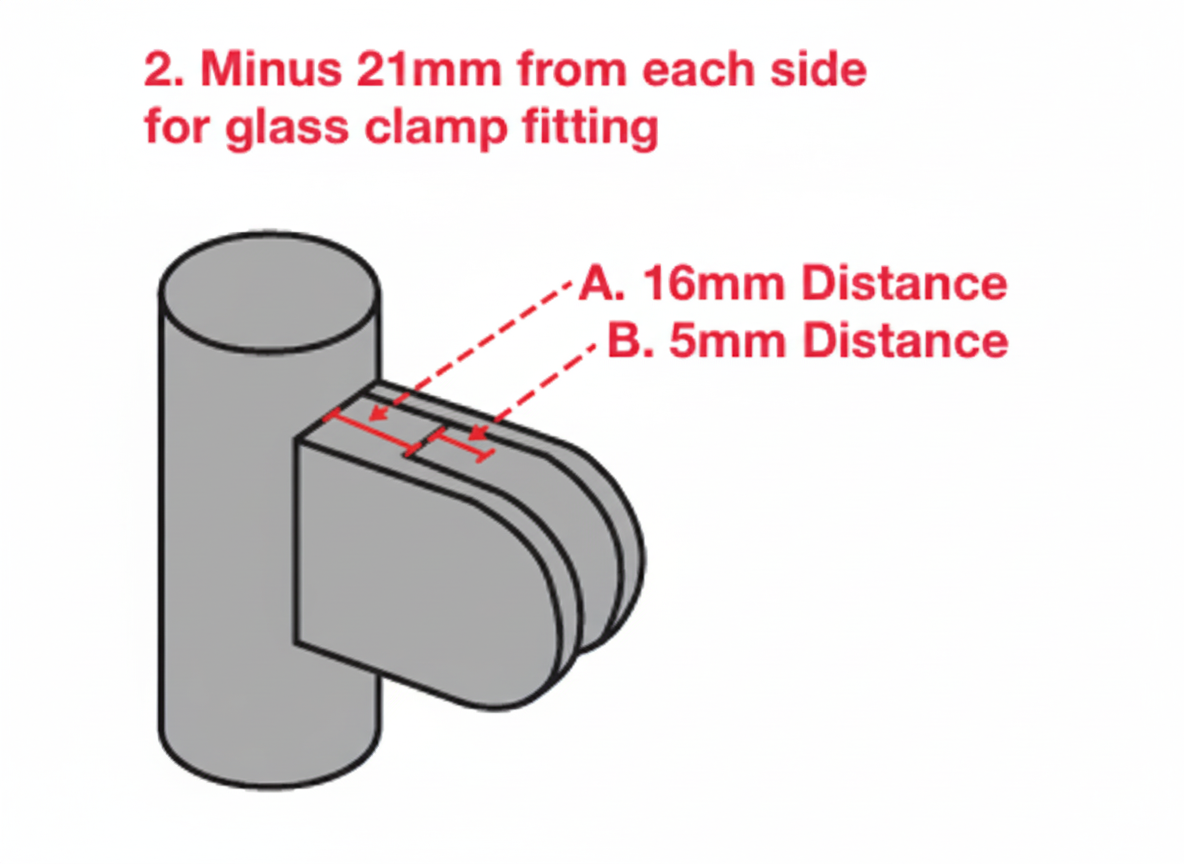
Measure glass panels
Measure from the inside face of one post to the inside face of the next. Then apply the correct deduction for your clamp type to get the finished glass width.
Tip: Standard D clamps: deduct 42mm. Sleeve Fit clamps: deduct 72mm.
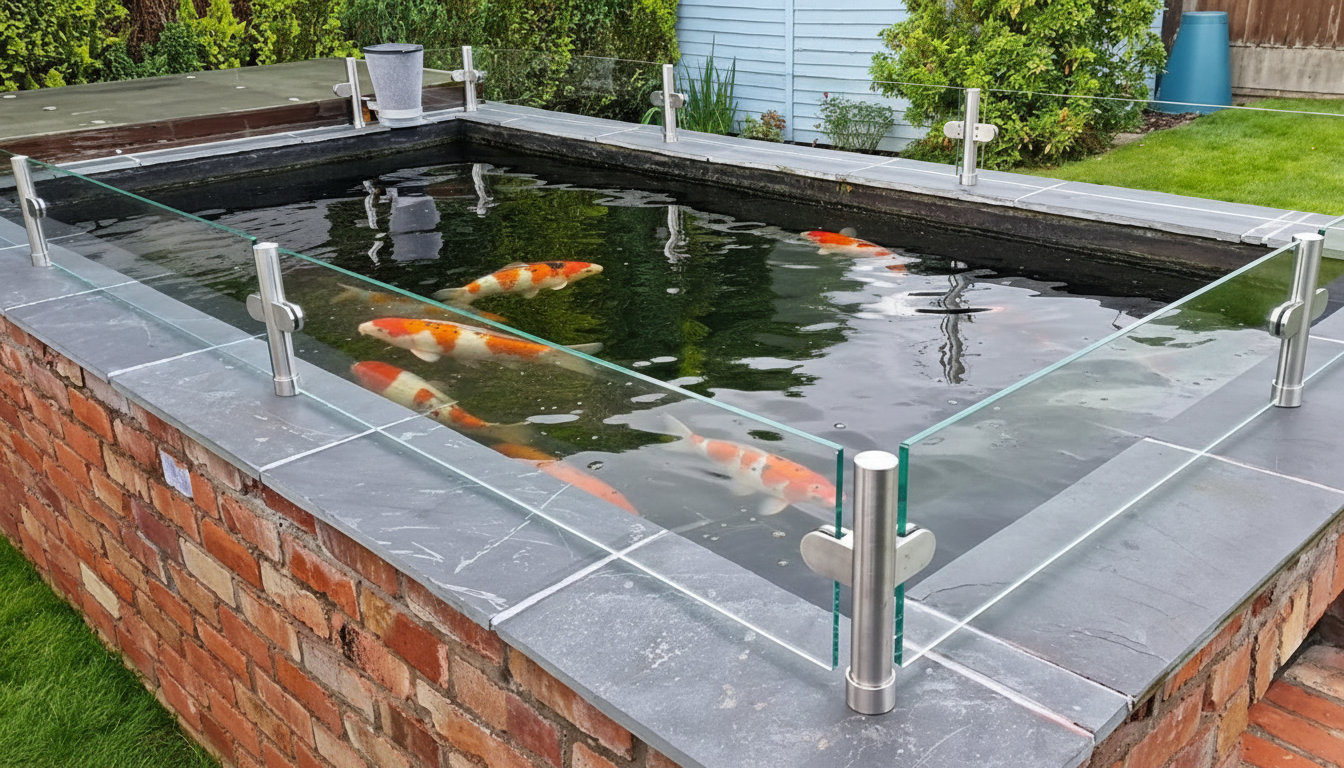
Install glass & tighten
Slide each toughened glass panel into position. For D clamps, place the glass and tighten the screws. For Sleeve Fit, slide the glass into the channel from the top. Leave approximately 25mm clearance from the coping stone for drainage.
⚠ Important: Measuring Glass Panels
- • Measure inside of post to inside of post
- • Do not measure clamp-to-clamp
- • Standard D clamps: deduct 42mm from each panel width
- • Sleeve Fit clamps: deduct 72mm from each panel width
Installation Time by Surface Type
The surface you're fixing into makes a big difference to installation speed.
Timber / Sleepers
Fastest
Standard wood screws, minimal effort
Block / Brick
Moderate
Standard masonry bits and fixings
Marble / Slate / Granite
Slowest
Diamond-tipped masonry bits required
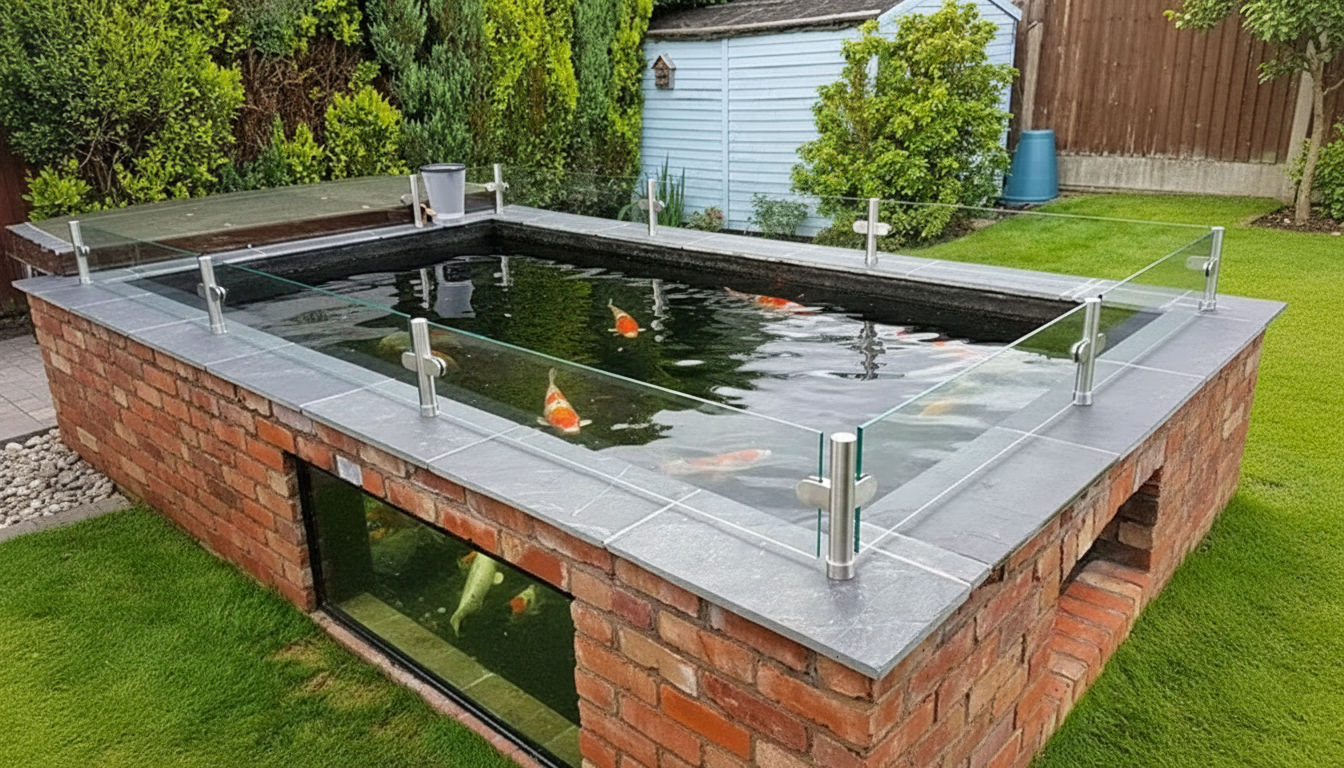
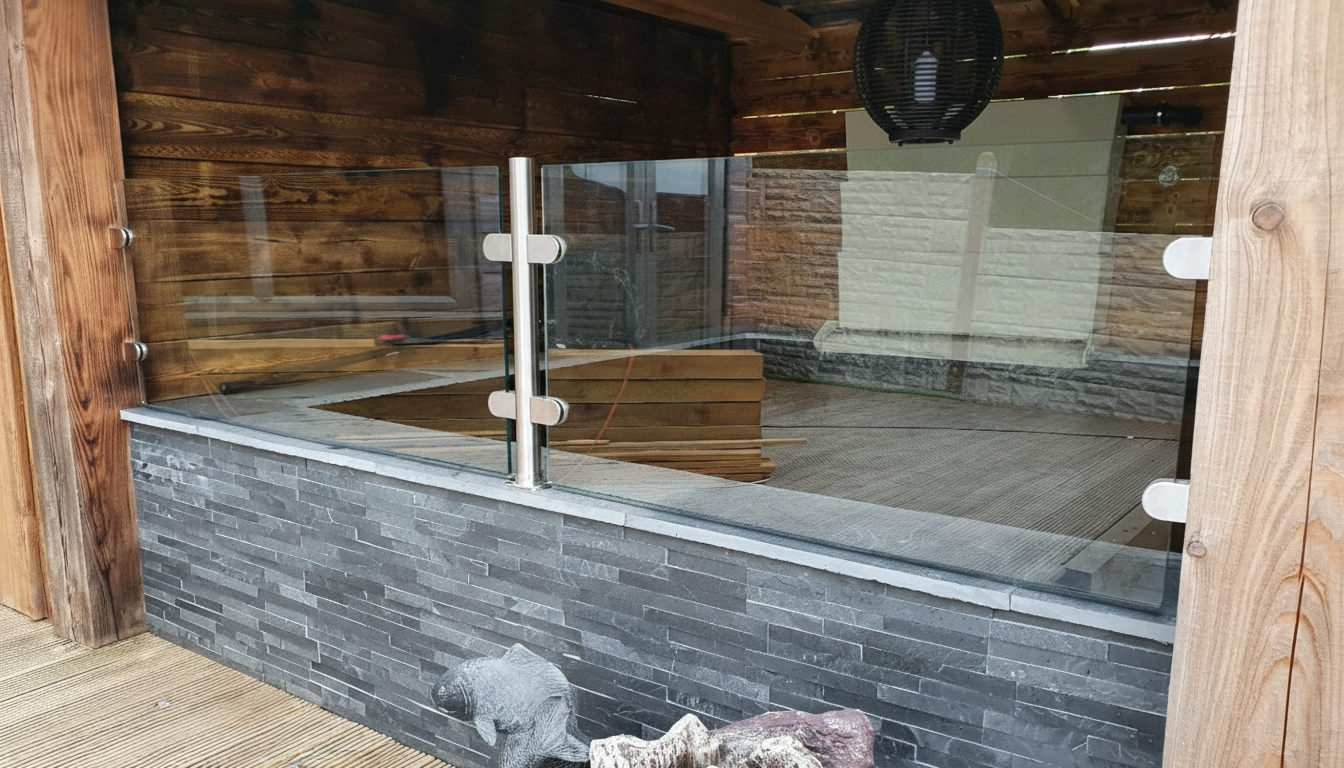
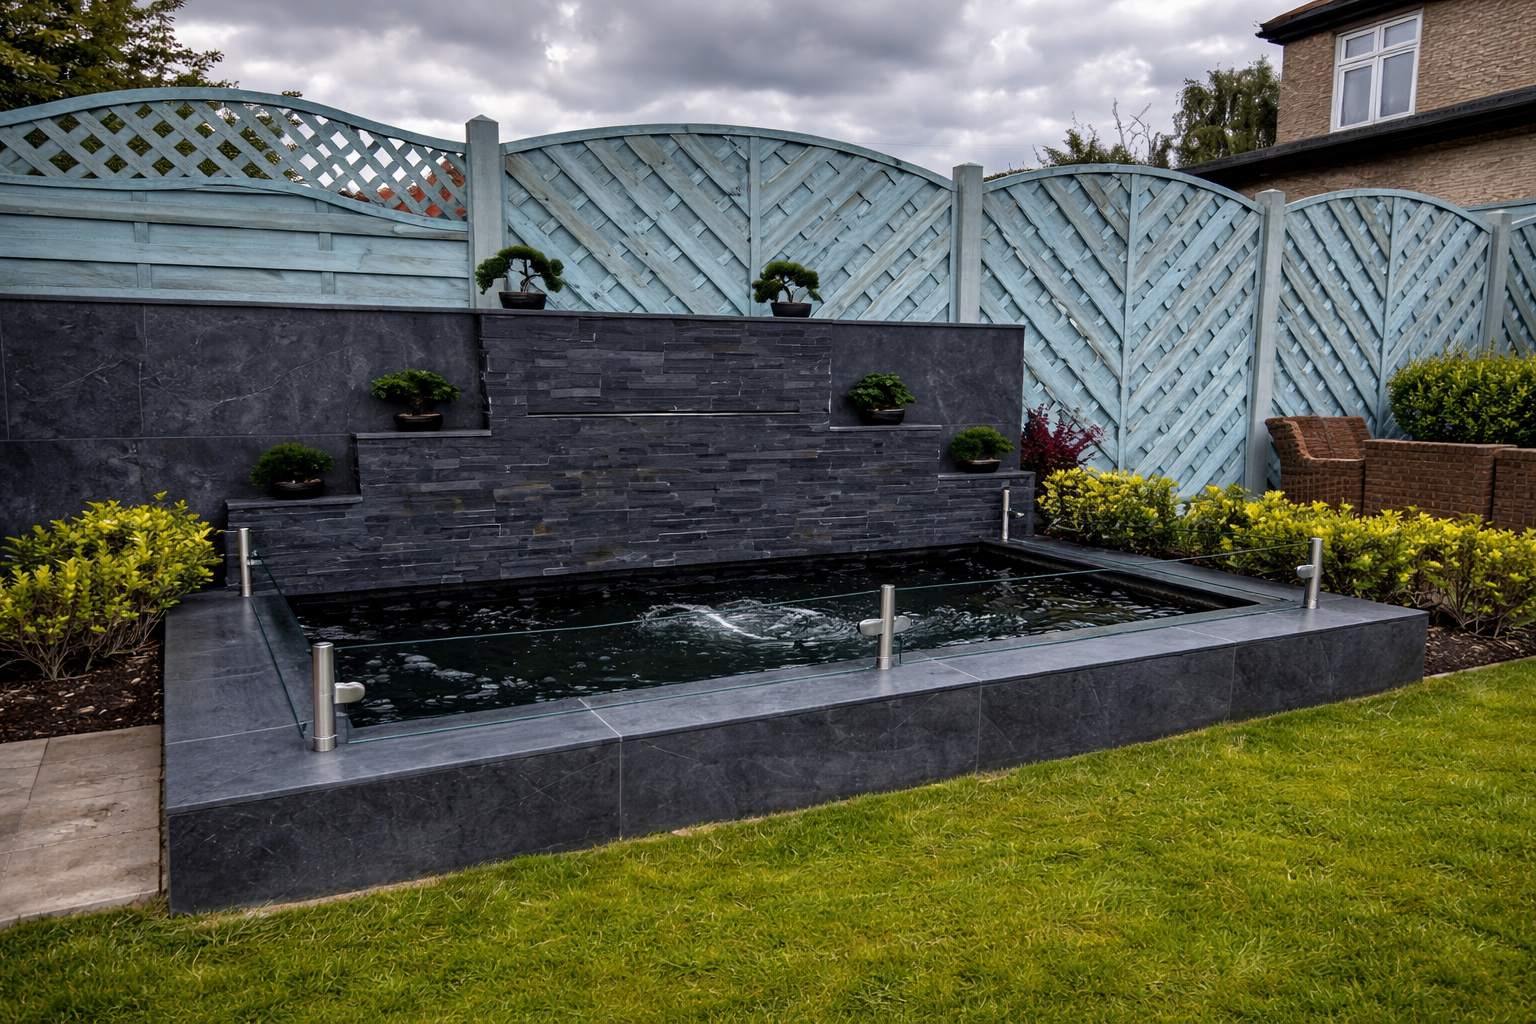
Completed Installations
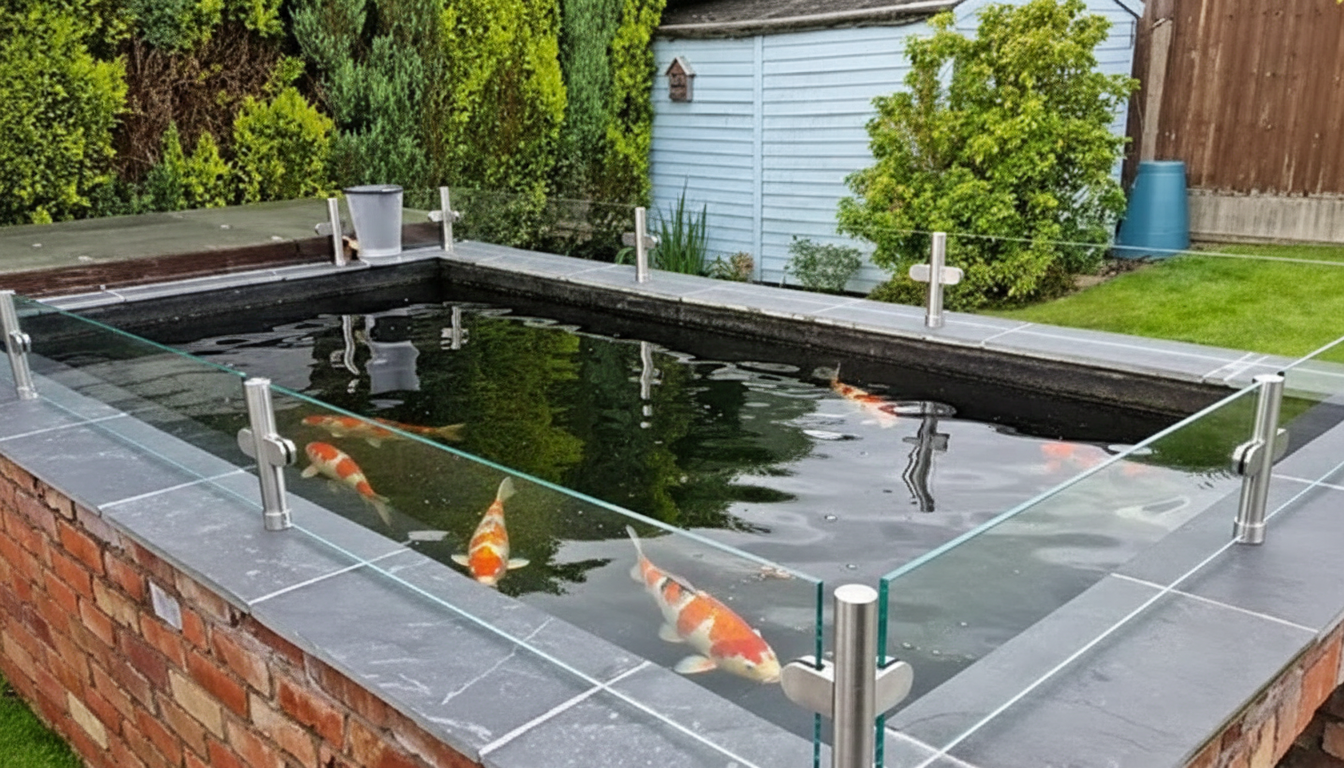
Why Koi Keepers Use Jump Guards
- Helps reduce the risk of koi jumping out of ponds
- Helps deter predators such as herons
- Keeps your pond visible without nets
- Long-lasting stainless steel construction
- Fully DIY — no welding or specialist tools
Frequently Asked Questions
How far apart should posts be spaced?
1500mm centre to centre is our preferred starting spacing. Wider spacing can be selected for infinity windows or obstacles, and above 2200mm we recommend considering 12mm glass; the right glass and fixing depend on your installation. The Pond Guard Designer defaults to 1500mm and distributes posts evenly to avoid very short panels at the end of a run. For any unusual spacing requirements, please contact us before ordering.
Can koi jump guards be installed on existing ponds?
Yes. The post system is designed to be fixed to existing coping stones or surrounding hardscape using stainless steel masonry fixings. No major modifications to your pond are required.
What tools are needed to install a koi pond guard?
You'll need a drill with a masonry bit (diamond-tipped for hard stone), a spirit level, a tape measure, and the appropriate stainless steel fixings for your surface type. All clamps and posts are supplied pre-assembled.
Calculate Your Pond Guard System
Use our Pond Guard Designer to enter your pond dimensions and instantly calculate the posts and glass required.
Calculate Your Pond Guard